 |
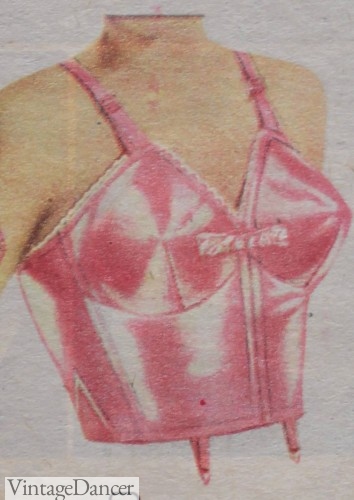
| 1952, longline bra with girdle tabs. https://vintagedancer.com/1950s/1950s-lingerie/ |
Another name for the long line bra is a bustier. In the 1970s Fredericks of Hollywood made 45 different bustier’s when inner wear as outer wear first became fashionable. The band is lengthened and some go all the way down to the waist. This distributes the support over the whole of the lower torso. Boning can be added to the band front, back panels and side seams to flatten and smooth out the abdomen.
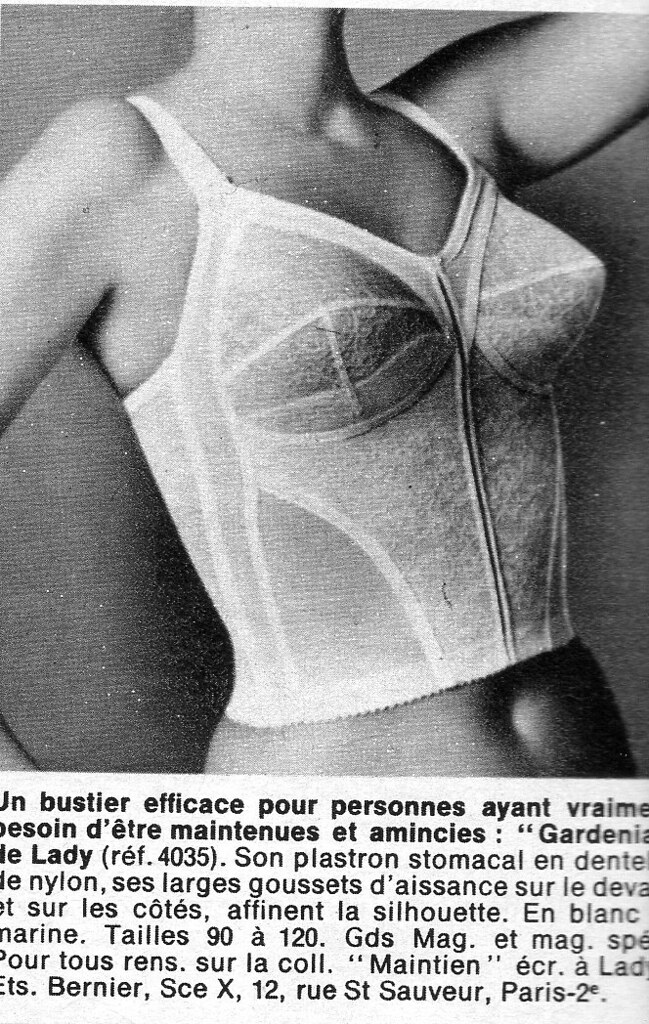 Looking back to the 1950's rather than boning in the band, panels of power net have been added. This would have also smoothed out the torso.
 The first step in constructing a long line bra is to make a pattern. I have patterned a three piece cup that will have a shoulder strap. The seam allowance for bra cups is 1/4 inch (1/2 cm).
I have cut the two lower cup pieces in polished cotton and the top cup piece in embroidered tulle.
 With right sides together, pin the lower front and side cup pieces together. Machine stitch using a 2.5mm stitch length being sure to secure both ends with a back tack. Press the seam allowances open and flat.

Keeping your stitching approximately 1/8 inch ( 3 mm) over from the seam line, machine stitch down both sides of the seam line. You can add a seam cover before stitching.

Looking back to the 1950's rather than boning in the band, panels of power net have been added. This would have also smoothed out the torso. The cup
 The first step in constructing a long line bra is to make a pattern. I have patterned a three piece cup that will have a shoulder strap. The seam allowance for bra cups is 1/4 inch (1/2 cm).
 I have cut the two lower cup pieces in polished cotton and the top cup piece in embroidered tulle.
 With right sides together, pin the lower front and side cup pieces together. Machine stitch using a 2.5mm stitch length being sure to secure both ends with a back tack. Press the seam allowances open and flat.
Keeping your stitching approximately 1/8 inch ( 3 mm) over from the seam line, machine stitch down both sides of the seam line. You can add a seam cover before stitching.

Pin the top cup piece to the lower cup being careful to match the notch points. Machine stitch using a stitch length of 2.5mm and securing both ends with a back tack. Press the seam open and flat. Use a tailors ham or bust pressing shape. if you have one.
 Cut a 3/8 inch wide strip of soft tulle for a seam cover. Place this over the seam allowance and machine stitch across both sides of the seam line . If you are using a sheer fabric for the cups press the seam allowance up onto the top cup before adding one or two rows of stitching close to the seam line on the top cup.
 |
| finished cup |
 |
| wrong side of the finished cup |
The front band
 The band is going to be a mix of power mesh and embroidered tulle. The closure is going to be hook and eyes down the centre back.
The front band is shown here cut into four pieces. There is an under the bra triangle of power net. There is also a shaped insert of power net on the side. This will help shape the torso and be comfortable to wear.
The length of the band from under the bust is 3 1/2 inches. This measurement can change to whatever length you want.
 With the insert of power net under the tulle pin to hold in place. Set the sewing machine stitch on the smallest zigzag stitch and the stitch length to 2.5mm. Machine stitch down the seam line securing both ends with a back tack.
Press the seam allowance onto the fabric and machine stitch close to the seam line.
I have pressed the seam allowance onto the power mesh because it looked better.
 |
| The band with the inserts of power mesh |
 The bridge or top edge of the band that sits between the cups is now finished with elastic trim. Place the elastic trim on top of the tulle fabric with the soft velvety side up and the straight edge of the elastic sitting on the edge of the bridge. Machine stitch across the fancy edge of the elastic to attach using a three step zigzag stitch set at 3mm wide. Turn the elastic trim to the wrong side and machine stitch across the straight edge of the elastic trim
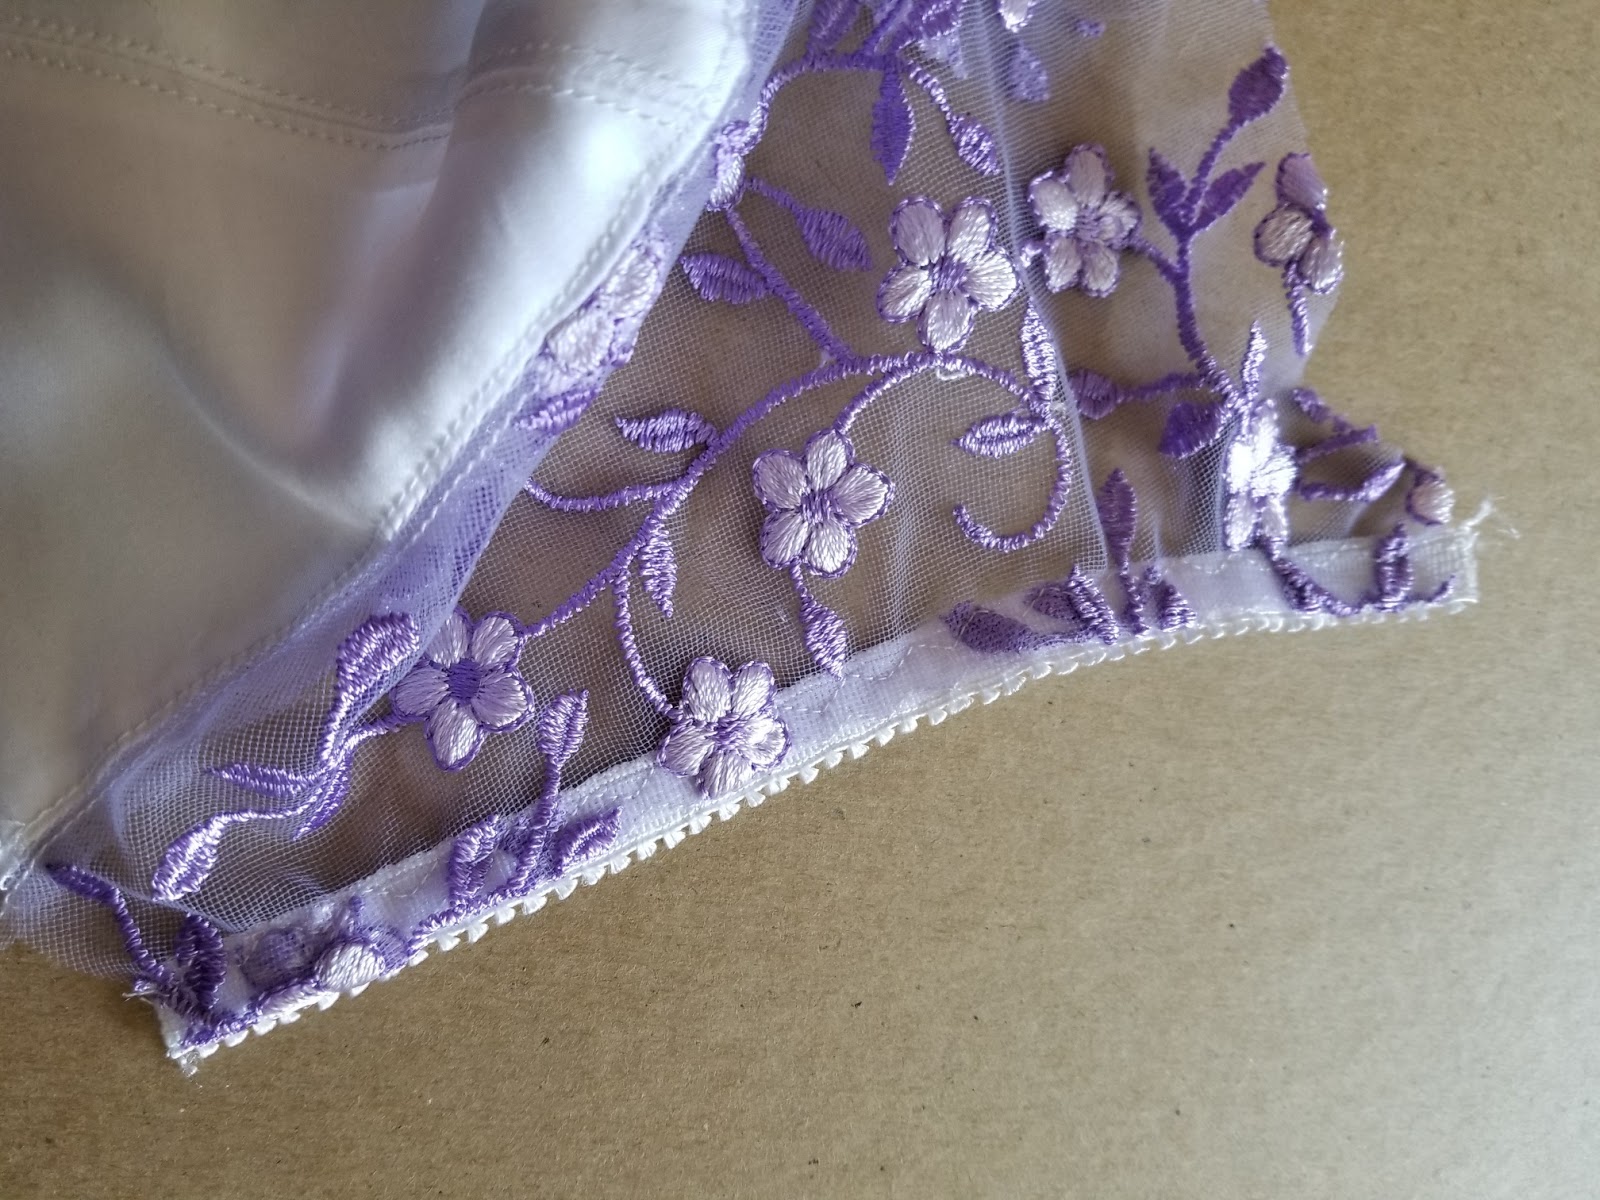
Finish the neckline edge of both cups with the elastic trim.
Attaching the cups to the band

Repeat for the other cup. Making sure that the front seam joining the top and lower cups matches to first cup.
 |
| Because the underwire is going to be attached onto the back the casing is being attached to the seam allowance with the cup facing up. If the underwire was going to sit in the cup the band would be facing up. |
Decide if the under wire in going to sit onto the cup or the band.
Place the under wire casing onto the seam allowance so that its edge is sitting on the stitching line that attaches the cup to the band. Machine stitch close to the edge of the casing starting at the front edge and finishing about 1 inch (2.5cm) down from the side edge. Secure both ends with a bar tack.
 With the right side facing stitch around the edge of the seam joining the band to the cup pressing the underwire casing down onto the band, with a stitch length of 2.5mm. Secure both end of the stitching with a back tack.
Turn the bra front to the wrong side and stitch around the edge of the underwire casing , finishing approximately one inch (2.5 cm) down from the top edge of the top side cup . Secure both ends of stitching with a back tack.

 On either side of the bridge make a small bar tack across the underwire casing. Trim the underwire casing back to the elastic trim. The bar tack is to hold the wire in place.
 |
| The finished front bridge |

 |
| The colored end of the underwire is the front end. Thread this end into the casing first. I have sat a wire on top of the casing so you can see the shape and colored end of the wire, |
 The back band
Here the back band has been cut into two pieces. I did this because I wanted some lace in the back. The back band could have been all power net or lace. Pin and stitch together the back band to the front band with a small zigzag stitch. Set the sewing machine to zigzag 1mm width and 3mm length. Secure both ends of the stitching with a back tack. 

Boning can be added to the side seam of the band. To do this press the seam allowance towards the back band. With wrong side facing, place the casing onto the seam allowance. Machine stitch down both sides of the boning casing keeping the stitching close to the edge of the casing. Secure stitching with a back tack at both ends.
Because a bra is laundered often, use a plastic or steel boning. The bone should be approximately 1 1/2 inches ( 3.81 cm) shorter in length than the side length. Thread the boning into the casing.
 |
| The right side of the side seam ater casing has been attached |

Attach the elastic trim to the top edge of the band from the centre back around to the side top of the front cup. Attach the elastic trim in the same way as the front neckline. Cut the side underwire casing back so that it is caught in the second row of stitching holding the elastic trim down onto the band. ( the underwire casing is to thick to fold back on itself) Attach the elastic trim to the bottom or hem line of the band in the same way. Apply an even tension to the elastic trim as you stitch it in place.
Closure
Attach the 'eye' side of the hook and eye tape closure to the left side of the centre back, right side facing.
 Open the tape, place the fabric onto the tape, fold the top of the tape onto the fabric (so the fabric is sandwiched ) and zigzag stitch in place, using a stitch width of 3mm and length of 2.5 mm.
Open the hook side of the tape. With right sides together place the tape onto the right centre back. Machine stitch down the tape securing both ends of the stitching with a back tack. Fold the tape to the back and zigzag stitch down the edge of the tape. Secure both ends of the stitching with a back tack.
 |
| Fold the tape to the right side and zigzag down the edge |

Zigzag stitch across both ends of the hook and eye tape to finish.
The straps
 On both sides of the back band attach a bra strap ribbon and ring . Cut two 2 inch (5 cm) lengths of bra strap ribbon, thread a ring onto each piece of bra strap ribbon and fold in half. Place onto the top of the back band at the strap placement mark. Machine stitch in place using a zigzag stitch bar tack; stitch width 3mm and length 2mm.
  Cut a length of bra strap ribbon the required length for the strap. I cut the ribbon 11 inches ( 28 cm). Thread one end of the bra strap ribbon though the slide, fold back onto itself and zigzag bar tack in place.
Thread the end of the bra strap ribbon though the ring on the back band.
Thread the bra strap ribbon though the slide and pull until the distance between slide and ring is 1 -2 inches in length.


With a zigzag bartack and right sides together attach the bra strap ribbon to both sides of the front cups. Turn to the right side and press the strap up away from the cup and zigzag bar tack across the strap.
 |
| The finished long line bra/bustier |
Make a pattern from a bra that you own and like so long as it fits.
Measure yourself before you begin .Take these measurements wearing a bra
- full bust measurement
under bust measurement
measure across the fullest part of the breast from underwire to underwire (as we are not all equal repeat with your other breast
Measure around your back from side seam to side seam
If you have questions, need help with getting a pattern that fits your measurements, please feel free to email me.