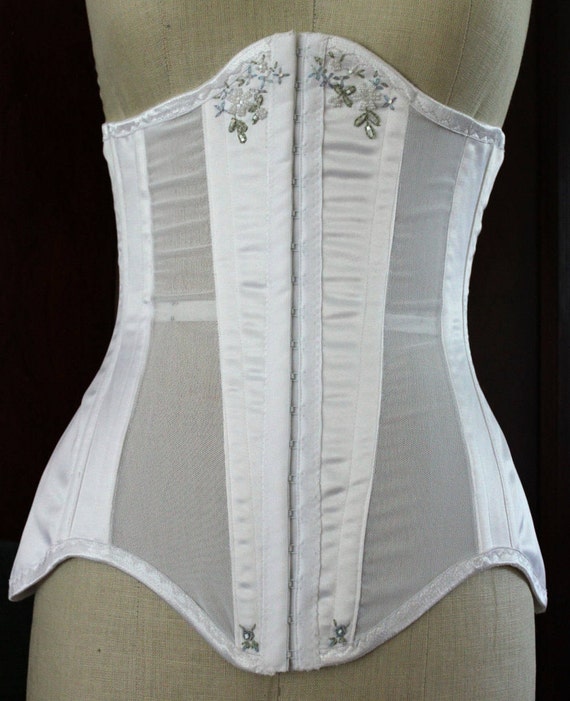
This under the bust in-between or soft corset finishes low on the hips making it the prefect foundation to wear under your wedding or evening gown. While it is not made to re-shape your body like a tight lacing corset it will smooth out all your line and show off your figure.
The pattern is now available to buy at Maison pamela@etsy.com.
Step 1:
Cut out all the power net and fashion fabric pattern panels. Take your time cutting out these panels as you only have 1/4 inch (6 mm) seam allowances and adding a little here or taking away a little can alter the fit of the finished garment.
Step 2:
With right sides facing and notches matching pin together the front and back side panels. Machine stitch down the side seam securing both ends with a back tack. Press the seam flat and open.
Step 3:
Pin the front power net panel to the front side panel, right sides together. Be careful to match the notches. With the power net under the fashion fabric, machine stitch down the seam line securing both ends with a back tack.
Step 4:
Pin the back side power net panel to the back side panel, right sides together. Be careful to match the notches. With the power net under the fashion fabric, machine stitch down the seam line securing both ends with a back tack.
Attach the center back panel to the back side power net panel.
Step 5:
Pin the boning casing to the center front panel matching the placement lines on the pattern. Machine stitch along both edges of the boning casing, securing both ends with a bar tack.
With right sides facing and notches matching pin the center front panel to the front power net panel. Machine stitch down the seam line securing both ends with a back tack.
Step 6:
Place the boning casing onto the front side panel seam allowance so that the casings edge is on the seam line. Machine stitch along both edges of the boning casing, securing both ends with a back tack.
Repeat on the back side panel seam allowance.
Step 7:
Push the seam allowance towards the fashion fabric on the center front seam so that the power net is facing you. Pin the boning casing along the seam line as in step 6, and machine stitch down both edges of the boning casing. Secure both ends with a back tack. Repeat step 7 attaching the boning casing to all the seam lines so that all the seam allowances are covered.

Finish the bottom edge with elastic trim. Machine stitch in place using a 3 step zig zag stitch. Follow the directions in my book, Lingerie design a complete course.
Step 9:
Insert the boning into the boning casing. Insert the steel boning into the center front boning casing and into the casing on either side of the center back. Insert spiral boning into the remaining casings.
Step 10:
Finish the top edge with elastic trim attaching ass in Step 8.
Step 11:
Place the continuous hook tape along the right front edge with the hooks down. Pin in place. Stitch across the seam allowance to the fold line between each hook. Secure with a back tack.
Fold the tape to the back of the panel. Machine stitch down the edge of the tape using either a zig zag or straight stitch. Secure both ends with a back tack.
Step 12:
Place the continuous eye tape along the left front edge so that the front seam allowance is sandwiched into the tape. The eyes will be facing you. Make sure that the eyes are sitting directly opposite its matching hook. Machine stitch down the edge of the tape using a zig zag or straight stitch. Finish the top and bottom edges of the hook and eye tape with a zig zag stitch.
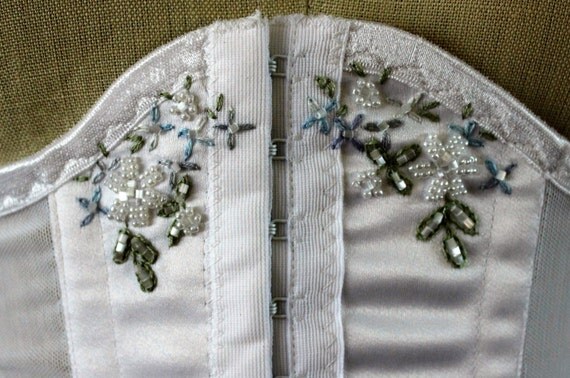
Your under bra corset is now ready to embellish.